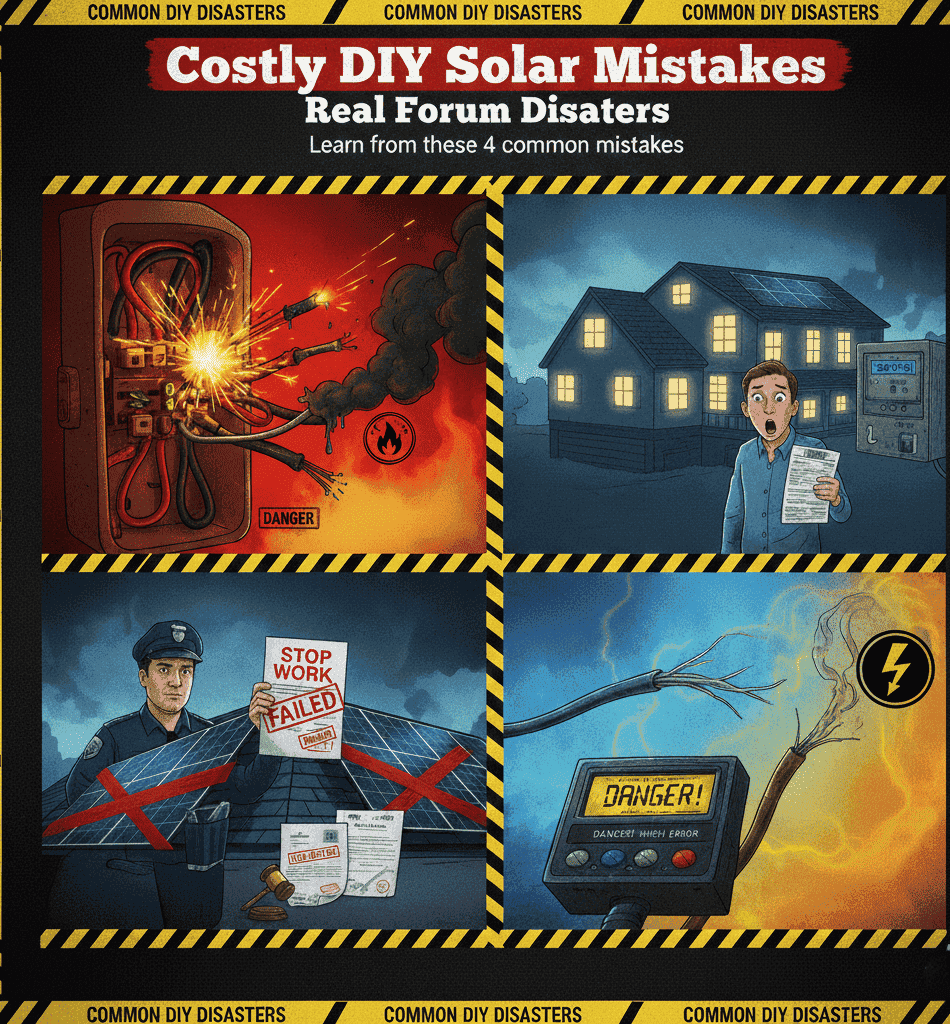
Common DIY Solar Installation Mistakes
Installing solar panels yourself can save money, but cutting corners can lead to costly mistakes, failed inspections, and even safety hazards. Here are real examples from solar forums of DIY installations gone wrong — and how to avoid them.
Electrical Wiring Errors
One of the most common mistakes is improper wire sizing. Using undersized conductors can cause overheating, voltage drop, and fire hazards. Always follow NEC requirements for wire sizing based on your system amperage and run length.
Roof Penetration Issues
Improper roof attachments and flashing are a leading cause of leaks in DIY solar installations. Every roof penetration must be properly sealed and flashed according to manufacturer specifications.
Solar Permit Solutions
DIY Solar? We Handle the Permits.
You install the panels — we design the permit-ready plan set your building department requires. Fast, affordable, all 50 states.
Permit and Inspection Failures
Many DIY installers skip the permitting process entirely, which can result in fines, insurance issues, and problems when selling your home. Always obtain the required permits before installation.
The Professional Alternative
Working with a professional solar permit design service ensures your system meets all code requirements and passes inspection the first time. Contact Solar Permit Solutions for permit-ready plan sets.
DIY Solar? We Handle the Permits.
You install the panels — we design the permit-ready plan set your building department requires. Fast, affordable, all 50 states.
SPS Editorial Team
Solar Permit Solutions
Solar Permit Solutions provides professional solar permit design services for residential, commercial, and off-grid installations across all 50 states. Our team ensures permit-ready plan sets delivered fast.
Related Articles
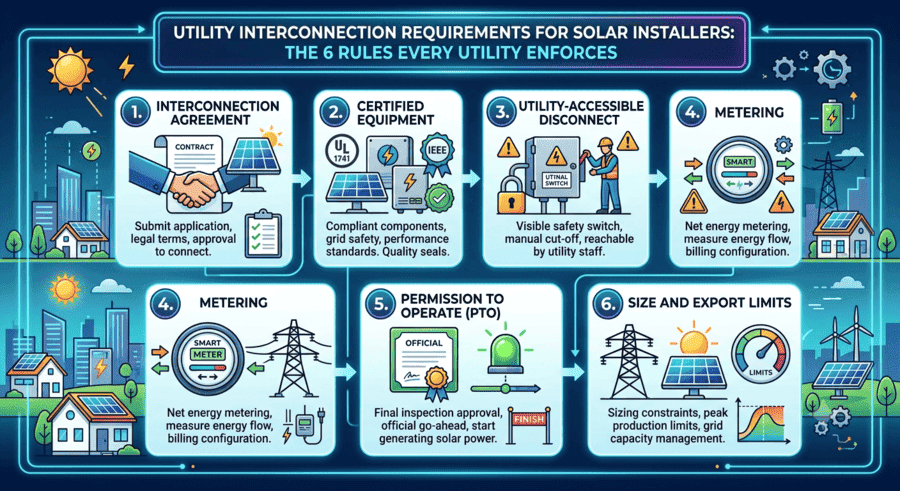
Utility Interconnection Requirements for Solar Installers: The 6 Rules Every Utility Enforces
interconnection agreement, UL 1741 and IEEE 1547 certified inverters, a utility-...
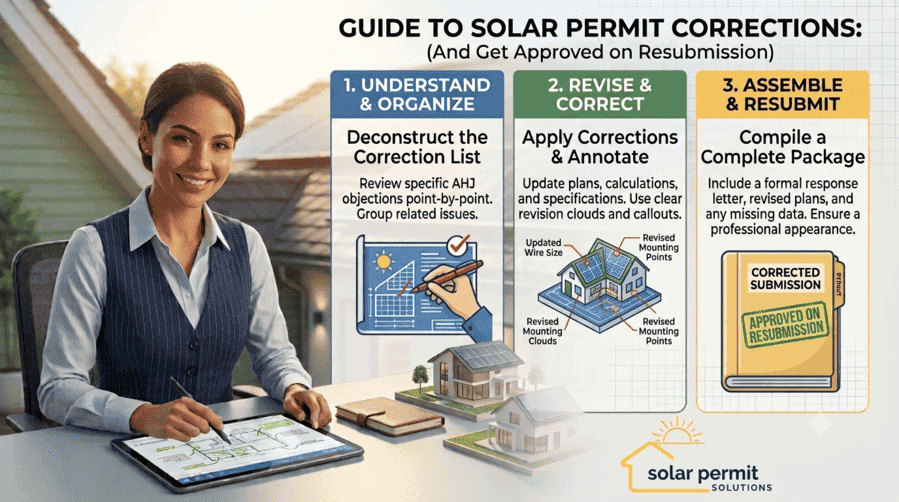
How to Respond to Solar Permit Corrections (And Get Approved on Resubmission)
To respond to a solar permit correction, read every comment from every reviewing...
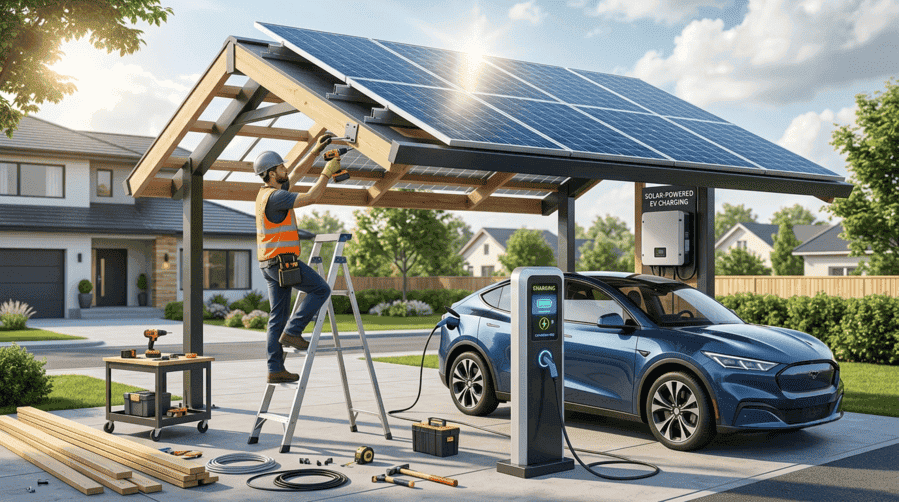
Can an EV Charging Station Be Powered by Solar? Here’s How to Build One
Yes, an EV charging station can be powered by solar. A grid-tied solar array pai...